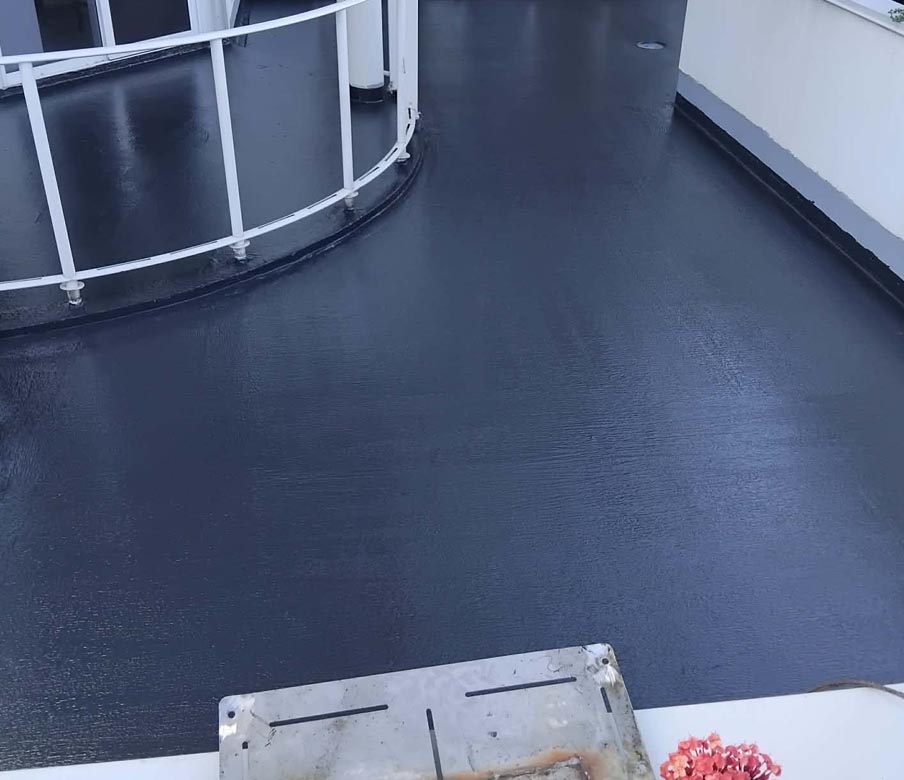

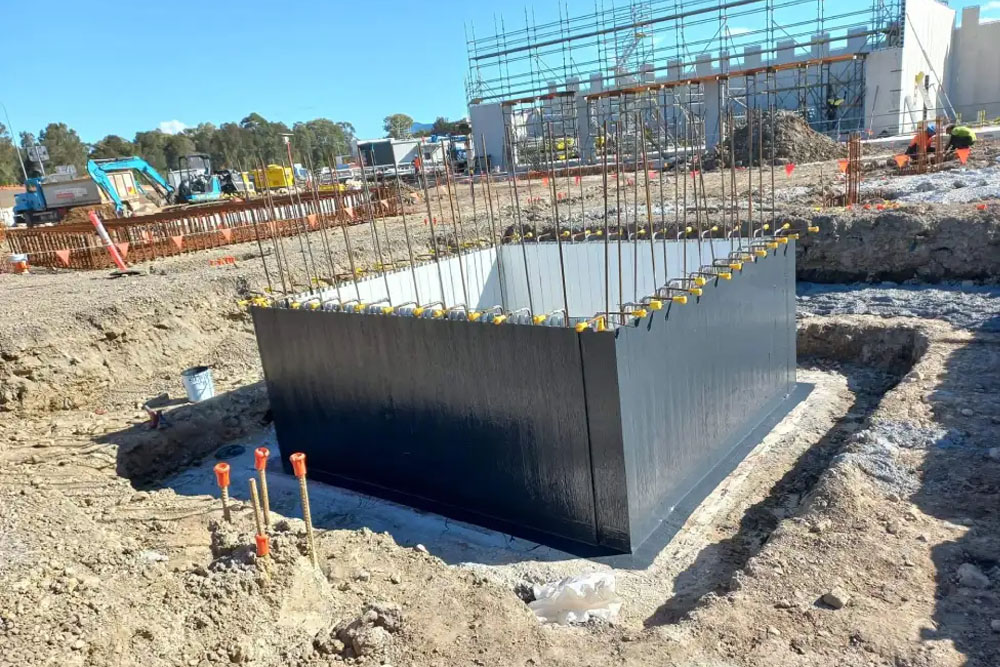
Improper membrane waterproofing can lead to leaks, trapped moisture, blistering, delamination and premature system failure. Often, the membrane itself isn’t the problem—poor surface preparation, incorrect priming, insufficient membrane thickness or inadequate curing can all compromise waterproofing performance.
Correct polyurethane waterproofing creates a durable, flexible and seamless barrier against water penetration. When professionally applied, a polyurethane waterproofing membrane provides long-lasting protection for balconies, rooftops, concrete slabs, wet areas and other exposed surfaces, making it a reliable solution for Gold Coast waterproofing projects. Polyurethane waterproofing is widely used to protect balconies, rooftops, concrete slabs, podiums, wet areas, planter boxes, and other surfaces exposed to water. A properly installed polyurethane waterproofing membrane forms a flexible, seamless barrier that helps prevent water penetration while accommodating minor movement in the substrate.
Successful polyurethane membrane waterproofing depends heavily on surface preparation, priming, crack treatment, correct membrane thickness, detailing, and curing. Even a high-quality liquid polyurethane membrane can fail if it is applied over a damp, contaminated, unstable, or poorly prepared surface.
1. Inspect the Substrate Before Polyurethane Waterproofing
Before starting any polyurethane waterproofing application, inspect the substrate carefully.
Check for:
- Cracks in concrete or screeds
- Loose or hollow sections
- Existing coatings or sealers
- Dust, dirt, grease, and contaminants
- Excessive substrate moisture
- Standing water
- Incorrect falls or drainage
- Movement and construction joints
- Penetrations and drainage outlets
- Wall-to-floor junctions
The substrate must be structurally sound before the waterproofing membrane application begins.
Applying a PU waterproofing membrane directly over unstable or damaged concrete may result in bubbling, cracking, delamination, or premature waterproofing failure.
2. Prepare the Surface for Polyurethane Membrane Waterproofing
Surface preparation is one of the most important parts of polyurethane waterproofing.
The substrate should normally be clean, stable, dry, and free from anything that could reduce membrane adhesion.
 Preparation may include:
- Concrete grinding
- Diamond grinding
- Mechanical abrasion
- Vacuum cleaning
- Removing laitance
- Removing old coatings
- Repairing damaged concrete
- Filling surface defects
Smooth or contaminated surfaces may need mechanical preparation to create the correct profile for the primer and liquid waterproofing membrane.
Simply sweeping the surface is usually not enough for a professional polyurethane waterproofing system.
3. Repair Cracks Before Applying the Polyurethane Waterproofing Membrane
Existing cracks should be assessed and repaired before applying the polyurethane membrane.
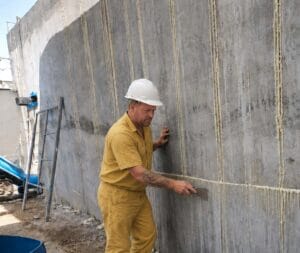
Concrete Crack Injection Repair
Depending on the type of crack, treatment may involve:
- Polyurethane joint sealant
- Epoxy crack repair
- Polyurethane resin injection
- Epoxy resin injection
- Reinforcing fabric
- Flexible joint systems
Small non-moving cracks may be repaired with compatible materials before the liquid polyurethane waterproofing membrane is installed.
Active or structural cracks require more careful assessment because a standard membrane should not be expected to permanently bridge significant structural movement.
4. Detail Corners, Joints, and Penetrations
Many waterproofing membrane failures occur around details rather than across the main surface.
Critical areas include:
- Internal corners
- External corners
- Wall-to-floor junctions
- Pipe penetrations
- Drainage outlets
- Balustrade penetrations
- Door thresholds
- Upturns
- Construction joints
- Movement joints
A professional polyurethane waterproofing contractor may use compatible sealants, reinforcing tapes, bond breakers, fabrics, or proprietary detailing systems before applying the main membrane.
Correct detailing is essential for achieving a continuous waterproofing system.
5. Check Substrate Moisture
Moisture trapped underneath some polyurethane waterproofing membranes can cause:
- Blistering
- Bubbling
- Loss of adhesion
- Delamination
- Premature membrane failure
The substrate should therefore meet the moisture requirements stated by the membrane manufacturer.
Concrete can contain significant internal moisture even when the surface appears dry.
Where required, moisture testing should be completed before PU waterproofing begins.
6. Apply the Correct Polyurethane Waterproofing Primer
Most polyurethane waterproofing systems require a compatible primer.
The correct primer depends on both the substrate and the selected membrane.
Different primers may be required for:
- Concrete
- Cement screeds
- Masonry
- Timber
- Metal
- Existing waterproofing membranes
- Tiles
- Other difficult substrates
The primer helps improve adhesion between the substrate and the polyurethane waterproof membrane. It can also help seal porous surfaces and reduce air release that could otherwise create pinholes in the membrane.
Always follow the manufacturer’s specified drying time and recoat window.
7. Mix the Polyurethane Membrane Correctly
Some polyurethane waterproofing products are single-component, while others use two-component systems.
For two-component polyurethane membranes, the resin and hardener must be mixed according to the manufacturer’s specified ratio.
Incorrect mixing may cause:
- Incomplete curing
- Sticky membrane surfaces
- Reduced durability
- Poor adhesion
- Inconsistent membrane performance
Use the recommended mixing equipment and avoid introducing excessive air into the material.
The membrane should also be applied within its specified pot life.
8. Apply the First Coat of Polyurethane Waterproofing
A liquid polyurethane waterproofing membrane may be applied using:
- Roller
- Brush
- Squeegee
- Notched applicator
- Airless spray equipment
The correct application method depends on the product and the project. The first coat should be applied evenly across the prepared substrate according to the manufacturer’s specified coverage rate. Avoid stretching the polyurethane coating too thin simply to cover more area. The waterproofing performance of the system depends on achieving the correct membrane thickness.
9. Reinforce Critical Waterproofing Areas
Some polyurethane waterproofing systems require reinforcing fabric or mesh around vulnerable locations.
These may include:
- Corners
- Cracks
- Joints
- Drains
- Penetrations
- Changes in substrate
- Wall-to-floor junctions
The reinforcing material is generally embedded into wet liquid waterproofing membrane and then covered completely with additional membrane.
Avoid wrinkles, exposed fabric, dry areas, and trapped air.
10. Apply Additional Polyurethane Membrane Coats
Most polyurethane membrane waterproofing systems are applied in more than one coat.
Applying subsequent coats in different directions can improve coverage and reduce the risk of missed areas or pinholes.
For example:
- First coat: horizontal application
- Second coat: vertical application
Each layer should reach the manufacturer’s specified curing stage before another coat is applied. Applying additional coats too early can interfere with curing. Waiting too long may require additional surface preparation before recoating.
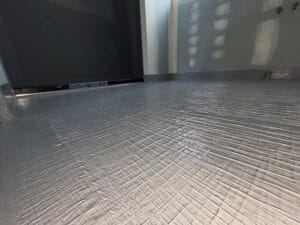
Membrane waterproofing
11. Achieve the Correct Waterproofing Membrane Thickness
Insufficient thickness is one of the most common causes of polyurethane waterproofing failure. A membrane can look fully coated while still being too thin to provide the required waterproofing performance.
Professional installers should monitor:
- Wet-film thickness
- Dry-film thickness
- Product consumption
- Coverage rate
Wet-film thickness gauges may be used during the waterproof membrane installation to check that sufficient material is being applied. The final thickness should comply with the specific polyurethane waterproofing system being installed.
12. Allow the Polyurethane Waterproofing Membrane to Cure
The membrane must be given sufficient time to cure before it is exposed to:
- Rain
- Foot traffic
- Tiling
- Screeds
- Protective boards
- Landscaping
- Ponding water
- Other construction activities
The curing time of polyurethane waterproofing membranes can vary depending on:
- Temperature
- Humidity
- Ventilation
- Membrane thickness
- Product formulation
Do not cover, tile over, or flood-test the waterproofing membrane before the manufacturer permits it.
13. Inspect the Completed Polyurethane Waterproofing
After curing, inspect the completed polyurethane waterproofing membrane carefully.
Look for:
- Pinholes
- Bubbles
- Blisters
- Thin areas
- Uncoated sections
- Membrane damage
- Poorly sealed penetrations
- Defective corners
- Incomplete upturns
Any defects should be repaired with compatible products before the waterproofing is covered. Depending on the project, additional waterproofing inspection or testing may also be required.
Common Polyurethane Waterproofing Mistakes
Common mistakes during polyurethane waterproofing installation include:
- Applying membrane over damp concrete
- Failing to prepare the substrate properly
- Waterproofing over dust or contamination
- Using the wrong primer
- Applying insufficient membrane thickness
- Ignoring cracks and movement joints
- Poor detailing around penetrations
- Incorrect recoat timing
- Using incompatible sealants
- Applying polyurethane during unsuitable weather
- Allowing other trades to damage the membrane
- Covering the membrane before it has fully cured
These installation errors can significantly reduce the performance and lifespan of a polyurethane waterproofing system.
Why Professional Polyurethane Waterproofing Application Matters
Professional polyurethane waterproofing involves much more than simply rolling a coating over concrete.
A reliable system combines:
- Proper substrate preparation
- Crack repair
- Compatible primers
- Joint detailing
- Correct membrane thickness
- Appropriate curing
- Waterproofing protection
An experienced waterproofing contractor will also consider drainage, substrate movement, moisture levels, exposure conditions, and construction details before selecting and installing the membrane.
Conclusion
Correct polyurethane waterproofing begins with proper surface preparation and ends with careful inspection of the completed membrane. The substrate should be sound and appropriately prepared, cracks and joints should be treated, the correct primer should be applied, and the polyurethane waterproofing membrane must reach the required thickness.
Proper curing and protection are equally important. Always follow the technical data sheet for the specific liquid polyurethane membrane being used, because primer requirements, coverage rates, application thickness, curing times, and environmental limitations vary between manufacturers.
When installed as a complete polyurethane membrane waterproofing system, polyurethane can provide a flexible, seamless, and durable barrier against water penetration.
Protect Your Property with Lasting Remedial Solutions
From specialized leak sealing to structural concrete repairs and membrane waterproofing across Brisbane, Gold Coast & Tweed Coast—get a reliable, warranty-backed assessment today.
✓ Up to 6.5 Years Workmanship Warranty
✓ NCC & AS Compliant Work
✓ 20+ Years Industry Experience
Related posts
- Health Risks of Water Seepage in Your Home
- How to Prevent Membrane Punctures and Installation Damage
- Why Positive-Side Waterproofing Is Still the Best Method for Retaining Walls and Foundations
- What Makes SSR’s Below Ground Waterproofing System an Industry-Leading Solution?
- Why SSR Is a Leading House Damp Proofing Specialist on the Gold Coast and Brisbane